Zambeza Seedkit: The easy way to germinate your quality seeds.
Your seedlings should poke their heads up within a day or 5, when they’ll be ready to re-pot into larger containers, or into your growbed. You can leave the pot on. In fact, we suggest you do, since pulling it off may well damage the young, tender roots.
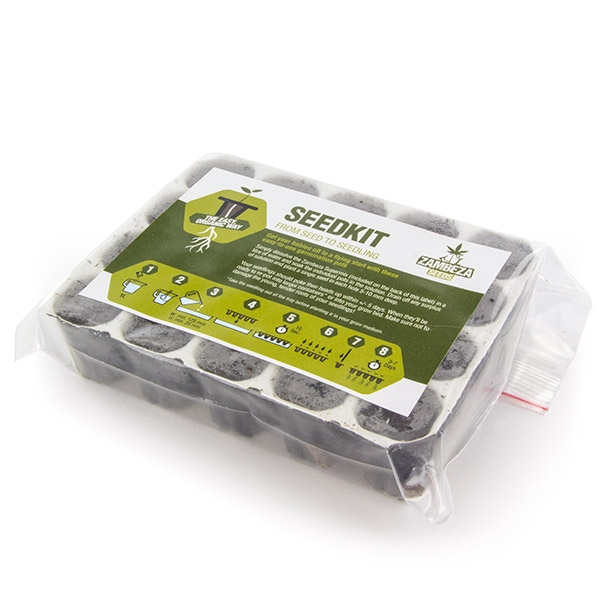
Things included in the Zambeza Seedkit:
Zambeza Supermix
Zambeza Seedkit
Things you require:
Cannabis Seeds
Water and measuring cup
Perlite or a similar product
Propagator Pro
Screwdriver or a similar tool to make holes
Binder, tape or tie-wrap to mark the depth of the holes
Procedure:
To begin with, you require one litre of water having a temperature of about 25 degrees. Then you can start adding the products as you always do. Follow the instructions mentioned on the label of Zambeza Supermix to water in the pots.
Put the pots on a perlite layer in a propagator.
Now irrigate the perlite and the pots by using the mixture you have prepared. It is very important to check if the Perlite layer consists of a small water reservoir that isn’t close to the Perlite’s surface. Or else, the pots might absorb a lot of water, which could be damaging for the seedling.
Zambeza Supermix is used to offer the best balance between air and water in the pot. By maintaining sufficient moisture in the layer of Perlite, the pot will also remain moist. This happens because the pot absorbs the fluids from the Perlite. Moreover, it helps keep high humidity in the propagator. Now keep checking the pots from time to time to make sure that the level of fluid in the Perlite is sufficiently high.
Each pot should have a hole pierced in it, which must be between 5 and 10 mm in depth. A useful instrument can be produced by marking the right distance on the screwdriver by means of a piece of tape or tie-wrap. The next step involves piercing the pot till the marker comes in contact with the pot’s surface, and each hole should be of the accurate depth.
Finally we have arrived at the last step, which involves inserting a cannabis seed in each pot. In order to ensure that the seeds are at the correct depth, we can make use of the similar tool that we used for piercing each hole. It doesn’t matter which side of the cannabis seed is up because the seedling will reach to the surface of the pot whilst the root will form in the other direction. It is advised to plant just one cannabis seed in each pot. It is not possible to plant out the seedlings to various containers.
The majority of cannabis seeds require the time period of around some days or a week to germinate. It is strongly advised to remain patient during the period of germination and avoid opening the pot to look inside. After a few days or a week of germination, the root will form and afterwards, the germ will appear. Don’t try to remove the seedpod yourself as it will fall off itself. In an attempt to manually remove the seedpod, you will end up damaging the first leaves of the seedling that are needed to supply food to the plant.
Enjoy the germination process!